Designing a Chicken Coop Basement
by Elliot, Maddy, and Sadie
Our (Sadie, Maddy and Elliot’s) project was to make a removable basement/lower level for Sadie’s chicken coop. All of us have very smart dogs who are great at breaking into places. The objective was to make it easy to clean, durable and dog proof. To do this, the plan was to have the basement roll out on wheels and to have a tray underneath to catch waste. Sadie previously had chickens and is interested in keeping pigeons. Because of this, we thought it would be a good idea to start rebuilding her chicken coop and have separate places for the different poultry.
We held the fact, in the back of our mind while making this project, that this would be a habitat for chickens. We also knew that chickens, like all life, produce waste, and that this waste needed somewhere to go. We made the floor of the coop be chicken wire so that the feces would be able to fall onto a tray below that we, humans, would be able to clean. We also knew that it would have to be predator proof, so we elevated the coop slightly off the ground and bought predator-proof latches for the doors.
Our project, because of the constraints of chicken safety and functionality brought up, needed to be exact. To make sure of this Sadie and Maddy drew out large and thought out images with whiteboard markers on a big surface at Maddy’s house. The whiteboard markers allowed us to erase and revise the diagrams depending on where our brainstorming went.
Because Black Pine Circle School has chickens, we had the opportunity to place a chicken in the coop to see about both sizings and to show other people what our project was about.
During the start of the project, we had a pretty good plan on what we were going to do. We would first convert the measurements of Sadie’s backyard chicken coop, create a small model, then build the final draft out of a hardwood. However, it was not an easy process. It took some work to make our model fit with the measurements of the pre-existing coop to make the new. Sadie made photo’s of the coop and added the measurements online so they were easier to interpret. This made it much easier to see what the measurements for the bottom floor would be. Maddy wasn’t there for the first three days and she had the materials for the coop. Elliot and Sadie had to wait until Maddy came back to begin the final draft and, meanwhile, created the small model, which was good in the long run as well, because the day after we finished the small model, Maddy came back and we could get started with a better idea then we had initially. We faced many other small problems and had to innovate. Some examples of this are: a 3d printed model taking forever to print, and then there is tons of support material on it; the screws were way too long, so we used nuts to shorten them, and not every tool was available to us at one time, so we used other tools for different tasks until that tool was available.
Throughout our project, we learned many things about the process of creating a functional structure. We made multiple models so that our final draft would be fairly easy to create and we would be pleased with our results. One of the models we made was a 3D printed model. By making a version on TinkerCad, we expanded our knowledge on how to build things on this platform. None of us knew how to actually print anything, so we sought assistance from a classmate and learned the art of 3D printing. We also learned about different tools and hardware pieces that were necessary for our project. For example, we learned how to use the circular saw and how to use a drill on a small piece of wood.
Within our time constraint, we could not finish our project but made the most of what we were able to get done. If we had more time we would complete it, doing things such as: cutting out doors, one for poultry and the other for human hands, creating runners and wheels to enable the floor to be a drawer for easy cleaning access, etc. Sadie intends to do this later in her free time. Even though we could not complete these elements of the project, we did plan them out. In our models, we included these. We also would have made roosts from strong sticks that we found in Maddy’s yard.
If anyone is looking to do this project, or one similar to this, such as building a dog house or other small structure, we would recommend creating accurate models that you can refer to when making the actual version. We did this and it helped a lot. Also, from our unavoidable mistakes, we learned that it is good to have your materials at the start so you know what you are working with.
If you are thinking of doing this project, it is good to keep in mind that it cost us about $64.97. Here is a link that shows in depth ways to start building a coop,
link.

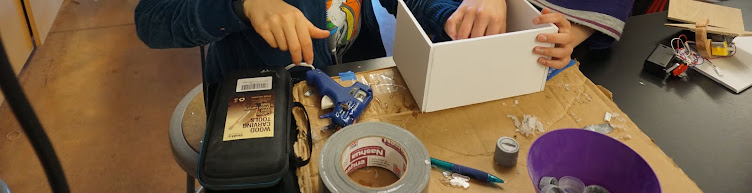
Measuring the wood.
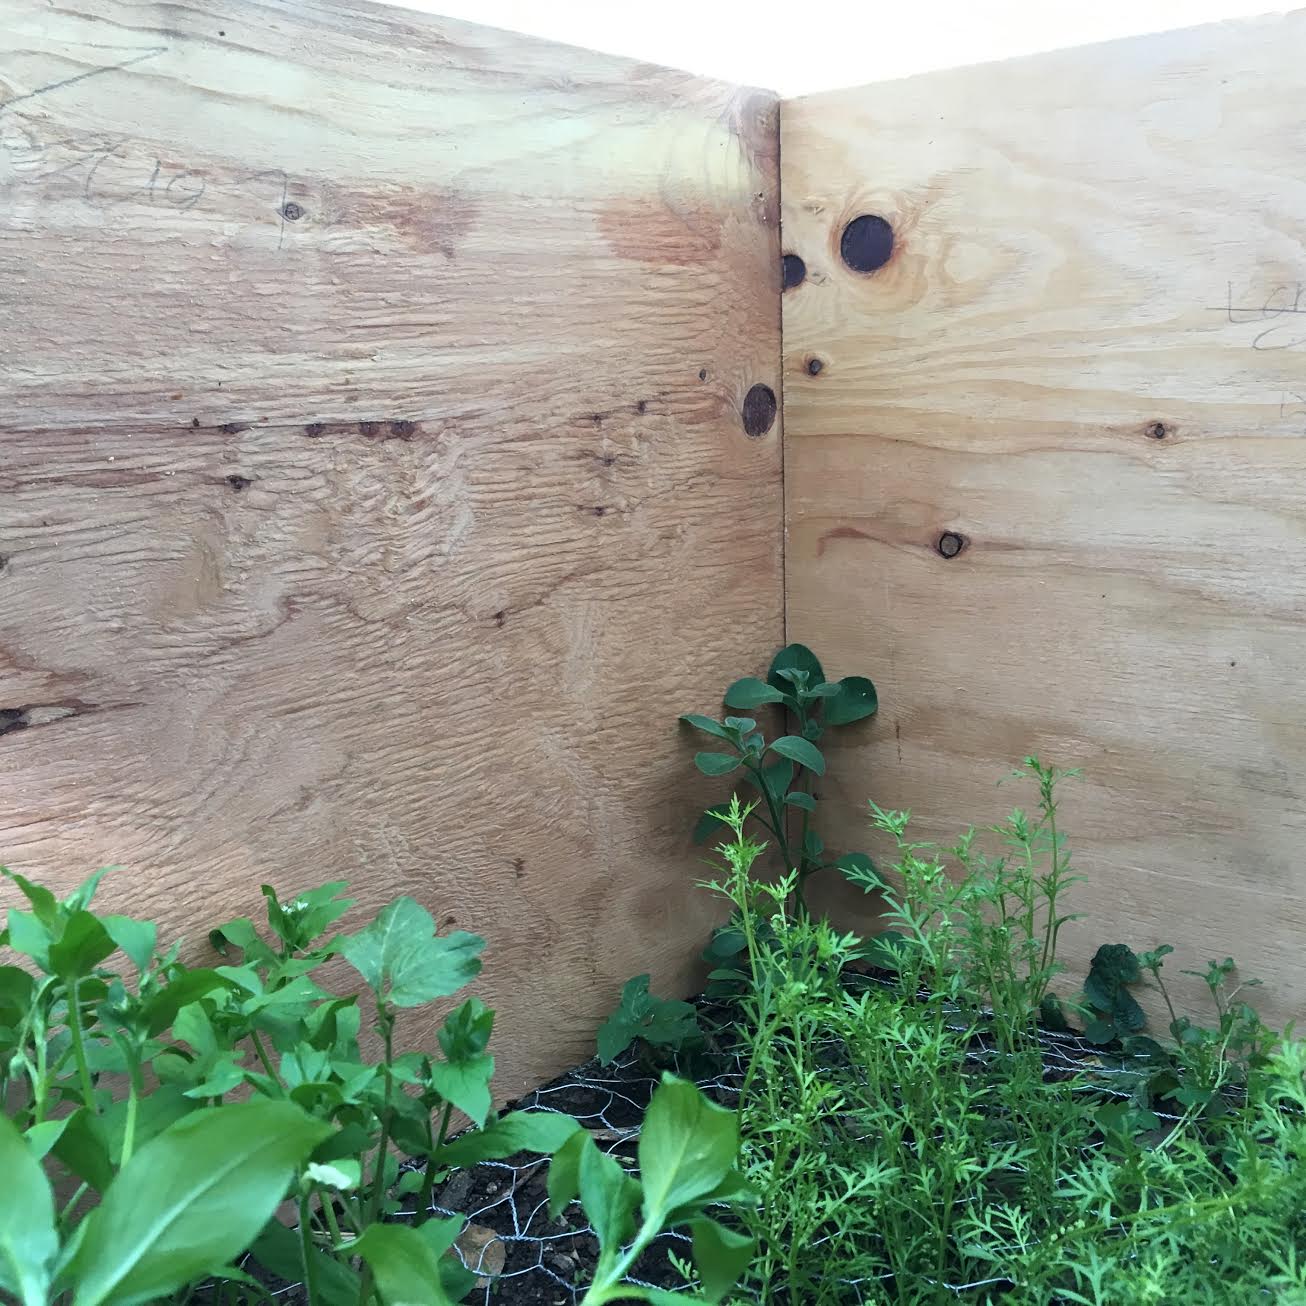
The inside of our project.
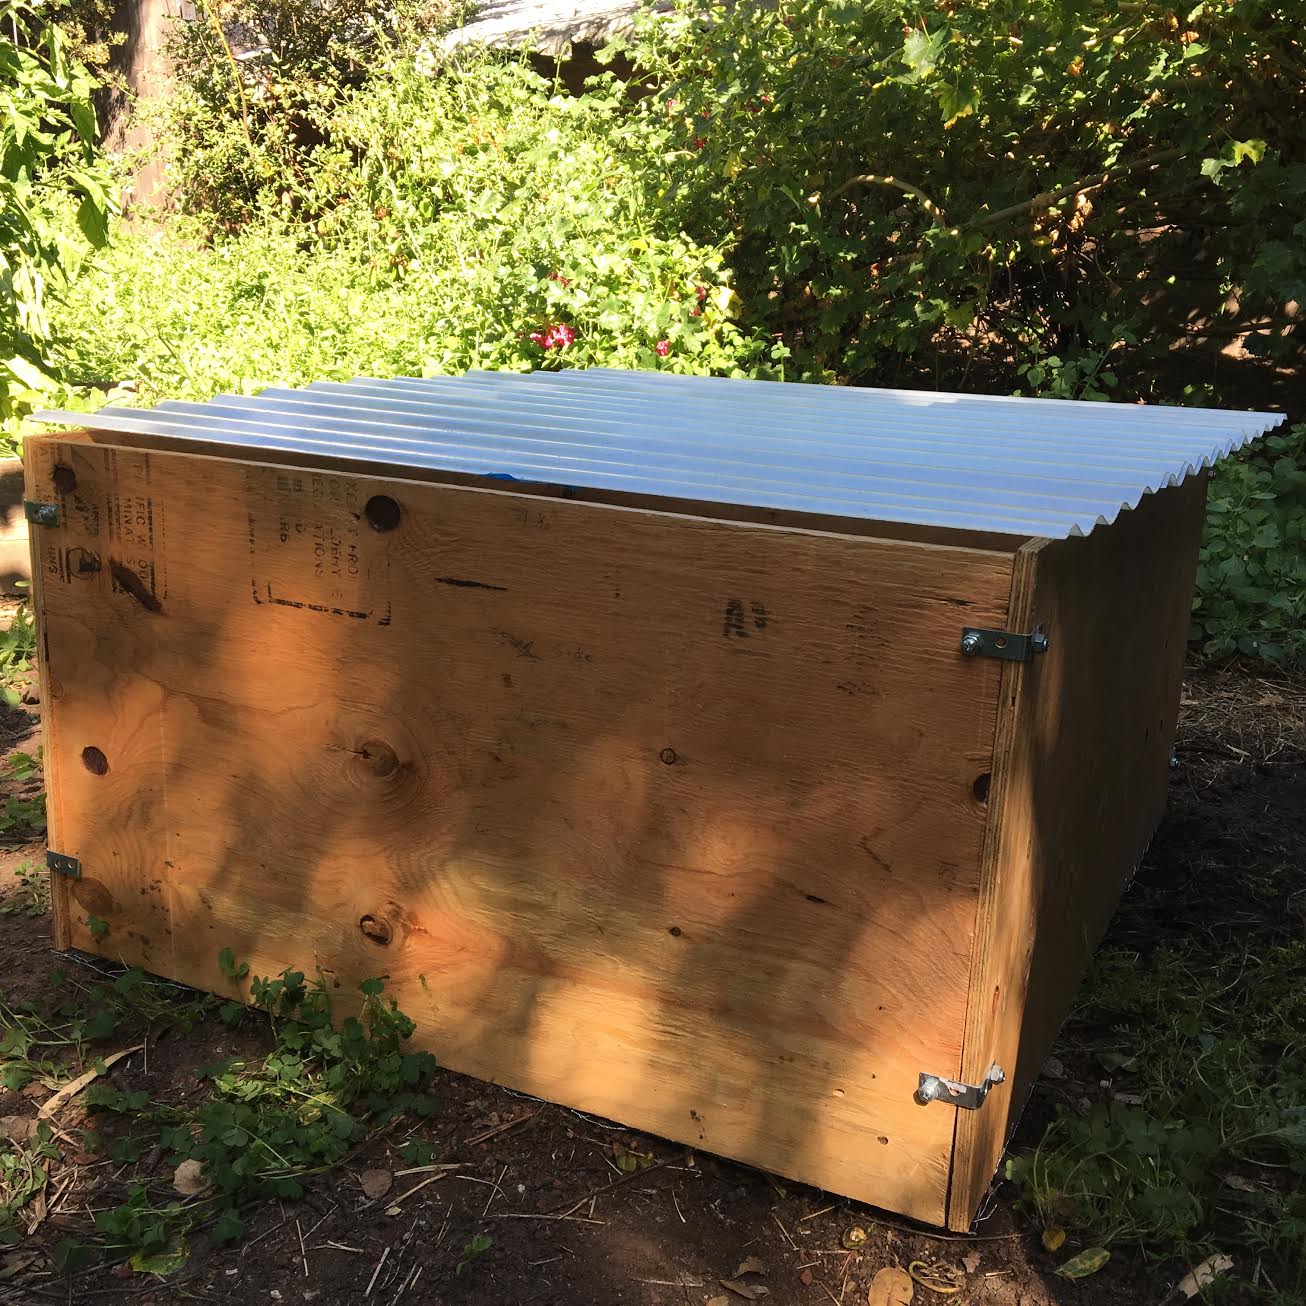
The bottom floor, outside of the coop.

Brainstorming the design.