Redesigning the Black Pine Circle School Garden Watering System
Estimated Cost of Project:
1 garden bed: $20
5 garden beds: $30
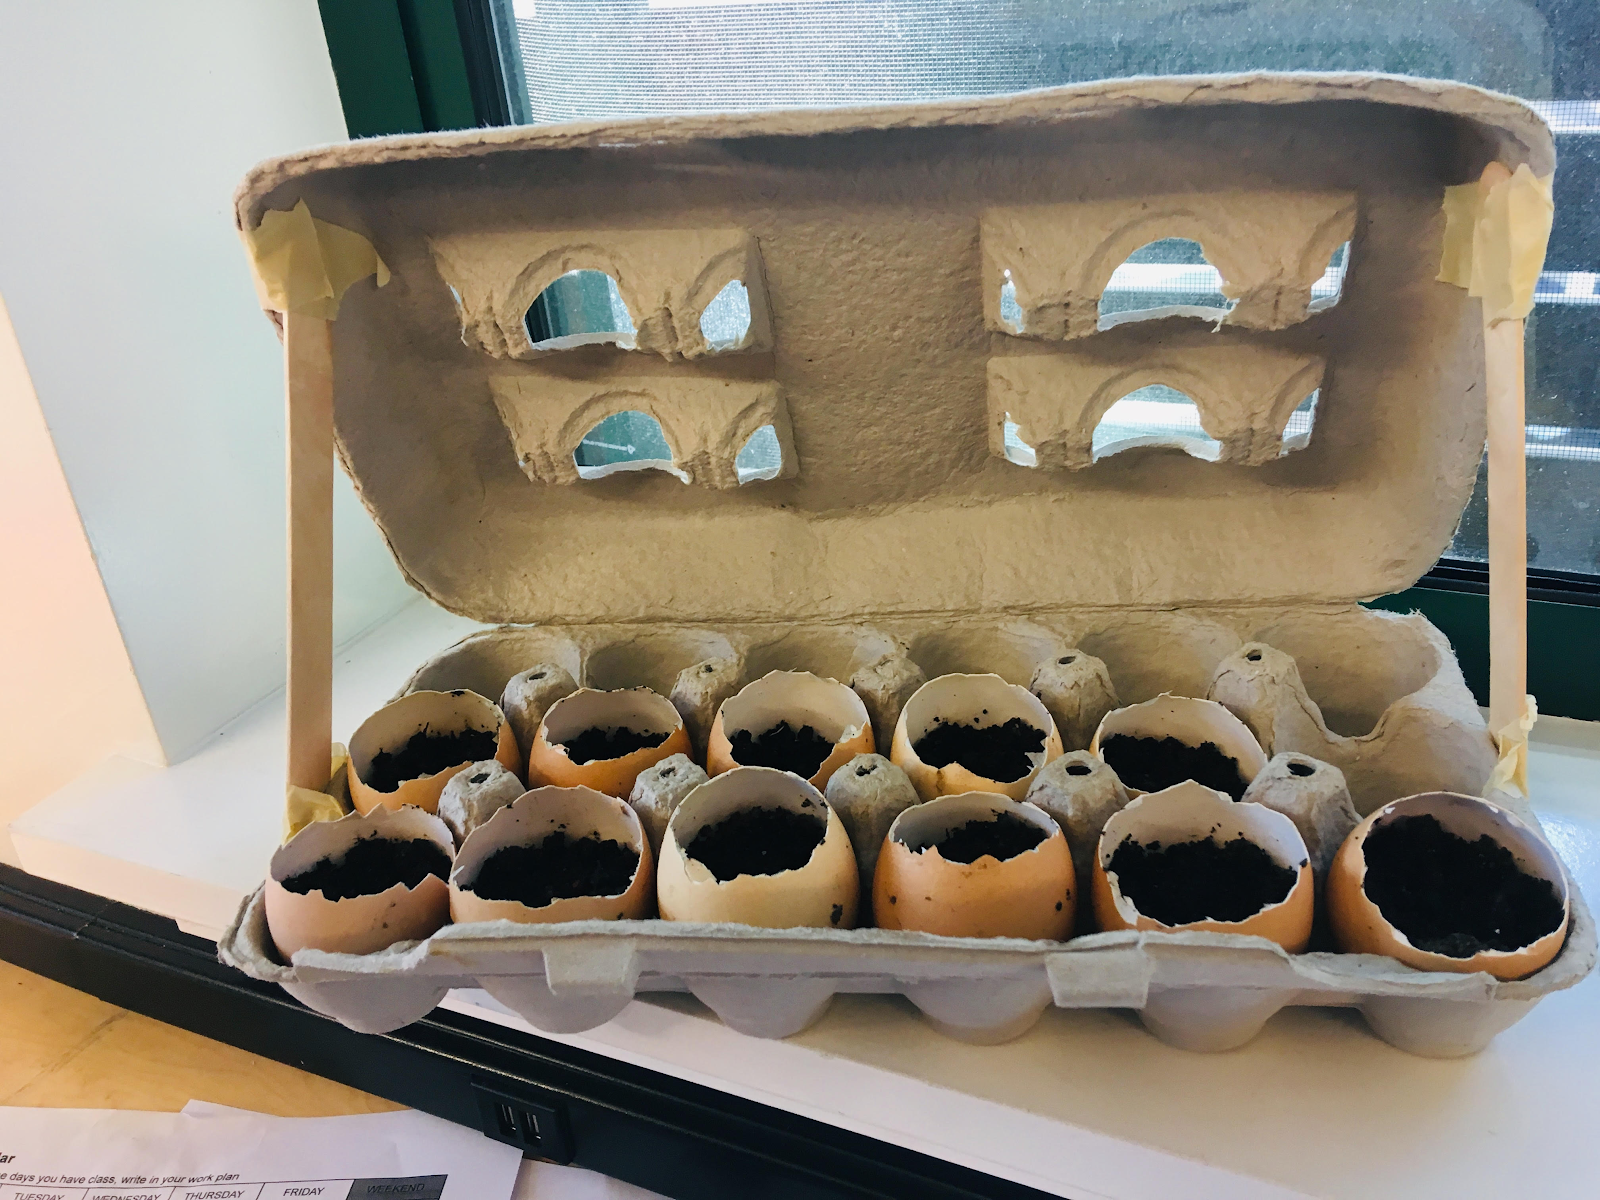
For the Black Pine Circle Annual Maker Faire, we designed and built a garden watering system. Our project
involved trying to improve the way our BPC school garden was being watered. It started on the basis of realizing
the garden wasn’t always being watered enough. We soon realized that this was because the students and
teachers didn’t have time to do it, and most folks didn’t know how much water each plant needed. In an attempt
to help water the garden correctly and thoroughly, we developed a system targeting each of these problems.
In the beginning, we were thinking of using an automated motorized pump to pump water through tubes to the
plants. With this design, we ran into problems almost as soon as we started. We realized that it would be very
difficult to set up a pump to water the plants, because we didn’t have a reliable source of electricity outside.
Without electricity, we had to make a system that used some sort of water tank that branched out into separate
tubes planted on spots near trees or plants in need of water. Thus, to get around our time and material
constraints, we decided to use a water bottle, a syringe, and a few tubes to water the garden.
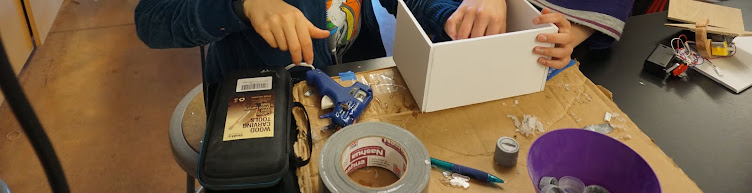
First, we screwed a syringe to a water bottle; we used this to create the pressure that would pump the water
out our bottle into the tubes. Then, we tested it’s watering capabilities by placing each tube near a plant. We
started pumping. The pressure kept the water going, and we kept pumping the water, and watering the garden.
out our bottle into the tubes. Then, we tested it’s watering capabilities by placing each tube near a plant. We
started pumping. The pressure kept the water going, and we kept pumping the water, and watering the garden.
Throughout this process, we learned many things. The first is that, for anyone who might try this project,
it is always better to make a thorough model on paper before actually building a physical model. This gives
you the option for error without the risk of breaking a final model while trying to improve it. Another thing
that we learned that really interested both of us was the Siphon Principle of the flow of liquid through tubes.
This principle dictates that liquid can be pulled uphill if the end of the tube is lower than the start, much like this:

Unfortunately, this projected was a prototype, and was scaled down to a much smaller size. In reality, it would
be cool to set up a similar plant-watering system that had a similar, but more durable, metal tank that branched
through tubes to water various plants. Except: the tank would be a lot bigger, the tubing would be longer, and we
would use an automated valve system to minimize human labor. Altogether, we hope this project can have a
meaningful impact on the BPC garden, as well as others.
To Buy Materials:
Resources: